Geofence Alert Setup and Response: TeamMap Configuration Guide
Configure TeamMap geofences for perimeter monitoring, restricted areas, and patrol zones. Covers alert thresholds, notification setup, and response procedures.

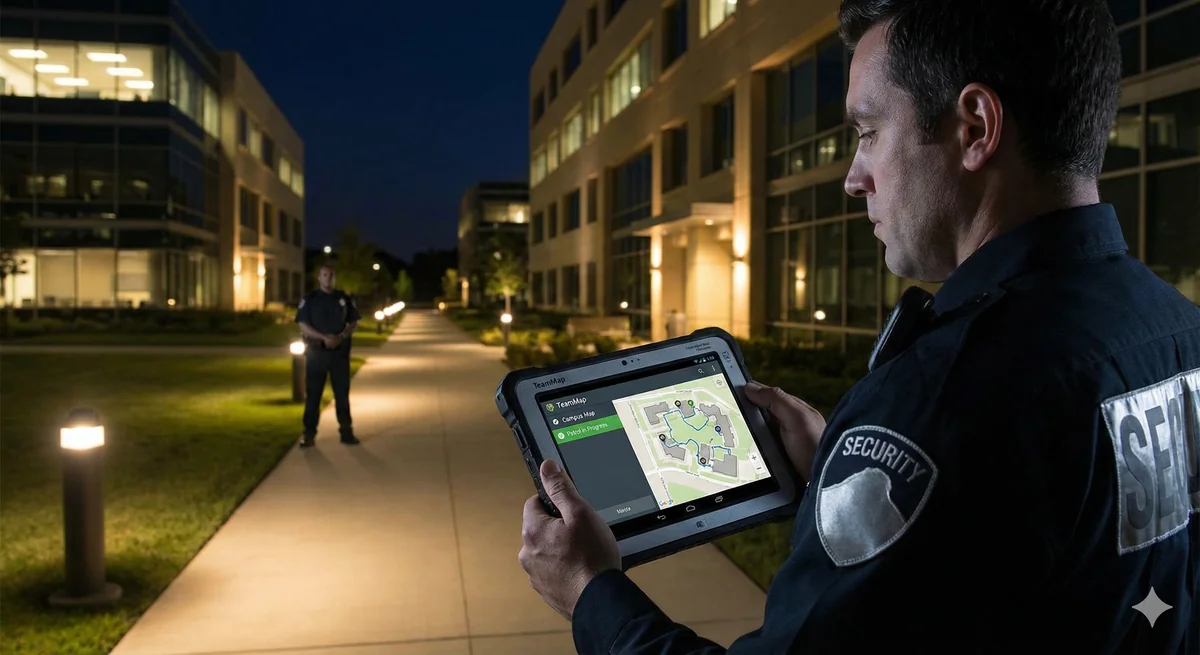
Geofences create virtual boundaries that trigger alerts when guards enter or exit designated areas. TeamMap's geofencing enables perimeter monitoring, restricted area alerts, and patrol zone tracking— all without requiring guards to manually check in.
TeamMap geofences automatically trigger alerts when team members cross virtual boundaries. This guide covers setup, alert configuration, and operational use cases for effective geofence deployment.
Geofencing Use Cases
Perimeter Monitoring
- Alert when guard exits designated patrol area
- Detect unauthorized entry to restricted zones
- Monitor construction site boundaries
- Track warehouse/distribution center perimeters
Patrol Zone Verification
- Confirm guards entered each required zone
- Track time spent in specific areas
- Verify parking lot coverage
- Monitor building-specific assignments
Safety Applications
- Hazardous area entry alerts
- Lone worker zone monitoring
- Emergency evacuation verification
- Site arrival/departure logging
Creating Geofences in TeamMap
Step 1: Access the Map Editor
- Open TeamMap admin dashboard
- Navigate to Shapes or Geofences section
- Click "Create New Geofence"
Step 2: Draw the Boundary
TeamMap supports multiple geofence shapes:
| Shape | Best For | Drawing Method |
|---|---|---|
| Circle | Single point radius | Click center, drag radius |
| Rectangle | Square/rectangular areas | Click two corners |
| Polygon | Irregular boundaries | Click each vertex point |
Tip: For complex property boundaries, use the polygon tool and trace the actual property line. Include a small buffer (10-20 feet) to account for GPS accuracy.
Step 3: Configure Geofence Settings
| Setting | Description | Recommendation |
|---|---|---|
| Name | Descriptive identifier | "Building A Perimeter" |
| Trigger Type | Enter, Exit, or Both | Depends on use case |
| Alert Recipients | Who gets notified | Supervisors, dispatch |
| Dwell Time | Minimum time before alert | 1-5 minutes to reduce false alerts |
| Active Hours | When geofence is monitored | Match shift schedules |
| Members | Who is tracked by this geofence | Relevant guards/teams |
Alert Configuration
Alert Types
| Alert Type | Use Case | Priority |
|---|---|---|
| Entry Alert | Restricted area access | High |
| Exit Alert | Guard left patrol zone | Medium |
| Dwell Alert | Guard stationary too long in area | Low-Medium |
| Missed Checkpoint | Guard skipped a checkpoint on their route | Medium |
Notification Channels
- In-app notification: Always recommended
- Push notification: For supervisors on mobile
- Email: For non-urgent logging
- TeamMap channel message: For team-wide awareness
Reducing False Alerts
Common Problem: Too many alerts lead to alert fatigue. Staff stop paying attention when every alert is a false positive.
Strategies for reducing false alerts:
- Add dwell time: Require 2-5 minutes in/out of zone before alerting
- Increase boundary buffer: Account for GPS drift at edges
- Set active hours: Only monitor during relevant times
- Exclude authorized crossings: If guards regularly pass through
- Use appropriate trigger type:Don't alert on both entry and exit if only one matters
Geofence Response Procedures
Exit Alert Response
When a guard exits their assigned zone:
- Check if exit was authorized (break, incident response)
- Contact guard via PTT or call
- Document reason for exit
- Dispatch replacement coverage if needed
- Update geofence logs with explanation
Entry Alert Response (Restricted Area)
- Identify who triggered the alert
- Verify if entry is authorized
- If unauthorized:
- Dispatch security response
- Document the incident
- Follow intrusion response procedures
- If authorized but unexpected:
- Log the entry
- Update authorization list if needed
Missed Checkpoint Response
- Check guard's last known location on the map
- Attempt to contact guard via push-to-talk or chat
- If no response:
- Dispatch supervisor or nearest available guard
- Initiate welfare check if guard is unreachable
- Document the missed checkpoint and response
- Review patrol route for persistent problem areas
Best Practices for Geofence Design
Sizing Geofences
| Use Case | Recommended Size | Notes |
|---|---|---|
| Checkpoint verification | 20-30 meter radius | Account for GPS accuracy |
| Building coverage | Actual footprint + 10m buffer | Include entrances |
| Patrol zone | Full assigned area | Don't leave gaps |
| Perimeter alert | Property line + 20m buffer | Catch edge drift |
Layered Geofences
Create multiple overlapping geofences for sophisticated monitoring:
- Outer boundary: Site perimeter—exit triggers response
- Inner zones: Building areas—track patrol completion
- Restricted areas: Sensitive locations—entry triggers alert
Common Mistakes
- Geofence too small—constant false alerts from GPS drift
- No dwell time—alerts on momentary boundary crosses
- Monitoring 24/7—alerts during off-hours create noise
- Too many recipients—everyone ignores alerts
- No response procedure—alerts without action
Key Takeaways
- Geofences enable automatic location-based monitoring
- Size boundaries to account for GPS accuracy
- Use dwell time to reduce false alerts
- Define clear response procedures for each alert type
- Layer geofences for comprehensive site coverage
Continue Reading
Video Analytics for Security: Beyond Basic Surveillance
AI-powered video analytics can detect intrusions, count people, and identify anomalies. This guide covers practical applications and integration strategies.
Florida Security Guard License Application: Division of Licensing Guide
Navigate the Florida Division of Licensing application process for security guards, including background checks, training providers, and processing timelines.

The 10 Best Security Guard Management Software Solutions in 2026
From enterprise platforms to mobile-first apps, we review the top security guard software options. Honest assessments of features, pricing, and who each solution works best for.